I'll be moving this site to http://grapefruitpamplemousse.com. Of course, I hope to add more content (more frequently), but you can find all the old posts there for now.
Tuesday, July 06, 2010
Friday, March 05, 2010
Smoke, Smoke, Smoke that Pastrami
Silly title, I know, but I can’t help but thinking of the intro song to Thank You For Smoking when I think of smoke in any capacity. It’s a catchy tune, and I heartily suggest you give it a listen.
Now that that’s out of the way…
Allow me to refresh your memory about what I’m working on… In my last post, I explained that I am preparing turkey breast, pastrami style per Stephen Raichlen’s recipe. I took the ‘cured’ turkey out of the fridge, removed the plastic wrap, and let it warm up a bit at room temperature. I’m always hearing this is the right thing to do when cooking meats, so I do not question.
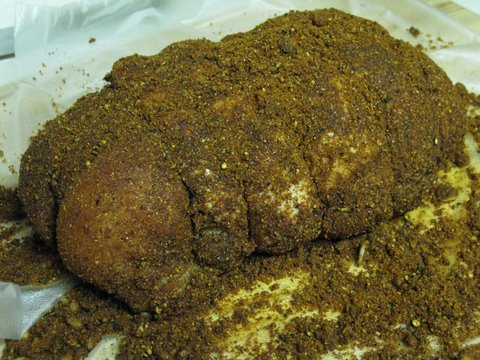
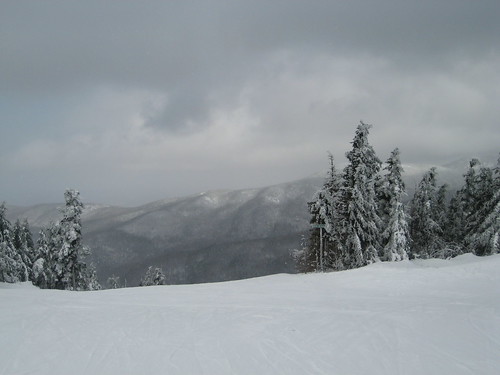
This is what the turkey looked like the night before cooking:

You can see most of the cure didn’t stick to the meat and it looked very dry, sandy almost. Below, you can see what the turkey looked like after a night’s slumber. The salt and sugar pulled some moisture from the bird to make the spice mix into a sticky, fragrant paste.
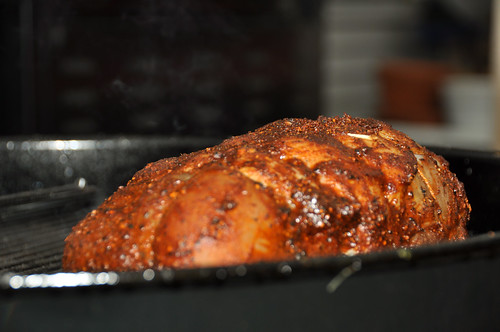
I put the turkey breast, minus extraneous cure, on the grill with plenty of charcoal and hickory chips. The charcoal and wood chips were positioned on one side of the grill with the meat on the other. The lid was on the grill throughout cooking, except when I was checking on the meat and snapping pics. I positioned the holes in the lid over the meat to draw the smoke over it, and also rotated the meat 180° halfway through cooking so the other side of the turkey got some exposure to the hotter side of the grill. I did this more for even smoking than even heating.
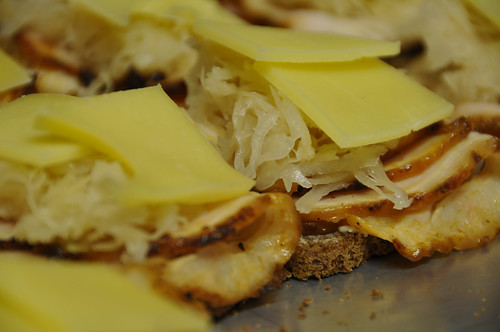
I really just wanted to cook the turkey recipe, but needed to find a way of serving it. I settled on turkey Rueben sandwiches. So while the turkey was on the grill, getting its smoke on, I got to work on the accoutrements for my mini-Ruebens. They include this triptych of sauerkraut, Russian dressing, and emmental.:
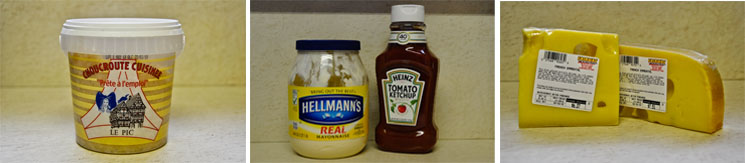
Not content to serve up run-of-the-mill sauerkraut, I headed to Fairway for true Alsatian choucroute. What’s the difference between choucroute and sauerkraut? Oh, about $6. Seriously, this stuff was $8 for the bucket.
I’m reminded of a joke I heard, I want to say from Alton Brown: What’s the difference between EN-dive and ahn-DEEVE?
The price!
Actually, the choucroute was less vinegar-ish (normal people might say “acidic”) than regular sauerkraut, and had more of a funky, fermented taste to it. It was good, but I wish it had a bit more punch. I suppose I should mention what I consider ‘regular sauerkraut’: something like Boar’s Head.
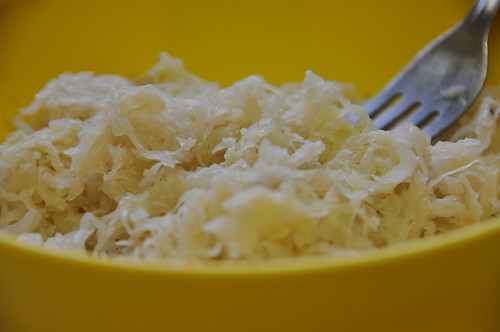
I got to work straining the choucroute, but really, there wasn’t very much moisture to drain away. There’s something I love about this picture. You may have to be a little crazy to love any picture of sauerkraut, so count me in the crazy club, I guess.
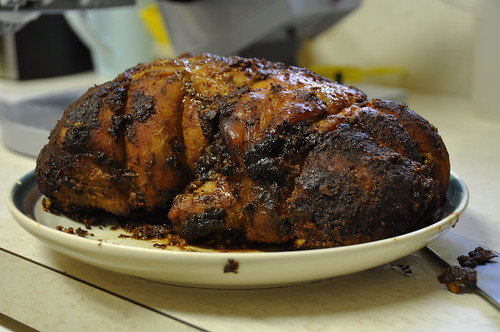
When the turkey was 160°F, I pulled it off the grill and let it rest and cool. There was a piece of turkey skin on there, but since it was beneath the cure, it didn’t crisp up much. I suppose next time, and there WILL be a next time, I could wipe the excess cure off the skin. It pretty much fell off while slicing anyway.
I love how the smoke from the grill gives meats that delightful amber hue. It is delightful, isn’t it?
A couple years back, after several bouts of foul sliced meats from various proprietors, my family protested store-bought deli meats and decided to roast our own turkey breasts, roast beefs, etc. We bought a meat slicer, which goes largely unused these days, but I did rock it for slicing the turkey. It does a brilliant job, as you can see.

While slicing the meat, I may or may not have eaten about five slices. Of course, if I did eat any, the first two would have been eaten to verify that the turkey wasn’t poison. The next three would, of course be eaten because they were too ugly to put on a sandwich. If I had tasted the meat, it would have been nicely smoky, not too spicy, wanting more black pepper, but plenty moist and tender. If…
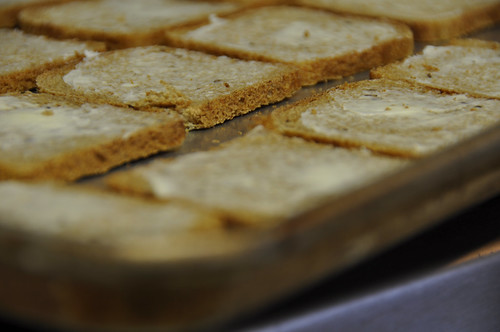
Anyway, I got to work buttering some cocktail rye and pumpernickel breads. Splendid photo, right? I love several of this batch of photos.
Next, I cut the cheese…hehe. Seriously though, I gave the emmental the meat slicer treatment. Although I purchased about $12 worth of cheese, I only used half, and let the other half grow moldy in the fridge, only to throw it out with the remaining $6 of choucroute a couple weeks later. I’m going to hell for all this food wasting…
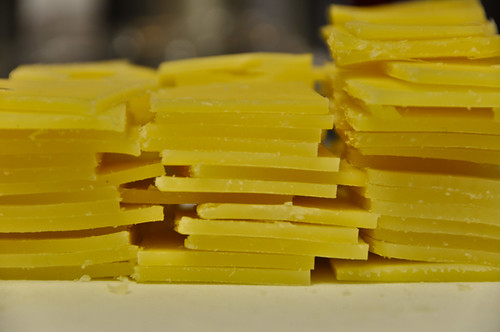
The Pioneer Woman (my current FAVORITE blogger because she’s living MY life while I’m here in suburbia) has a thing for bokeh. I wonder if she’s ever seen bokeh over cheese. Hmmm….
I was actually bringing these sandwiches to a party. I love showing up to a party with surprise food, especially when it’s a bit out of the ordinary. Doesn’t everybody love surprise food??? I laid these sandwiches out, open faced, on a few baking sheets so I could melt the cheese at the party. I don’t have any shots of the finished sandwiches, but just imagine those in the picture below with another piece of bread on top. To be more specific, they each got a squirt of homemade Russian dressing (ketchup, mayonnaise, cayenne!) and another piece of bread. I managed to put rye bread on top of the pumpernickel-bottomed sandwiches and pumpernickel on the rye-bottomed sandwiches, but there were no complaints.
I got good feedback from the party-goers. Everyone seemed to enjoy these little guys, and there were no leftovers. My own criticisms were that the bread was too dry – no cocktail breads anymore; there was not enough dressing, although I purposely limited it for mess reasons; and finally, the sauerkraut wasn’t nearly tangy enough. I think using a different sauerkraut and baking up some fresh bread should solve two out of three of these problems. And I might just add a messy glob of sauce too, just because the mess would be worth it.
Sunday, January 17, 2010
Turkey Pastrami Prep
For Christmas this year, my brother got me a classic Weber kettle grill, something I’ve wanted for a while. I christened it with burgers right after the holiday, and barbecued a pork shoulder just last week as part of Food & Films 2010 (no post about this event yet), but I certainly don’t consider myself an excellent pitmaster. To learn more about barbecue, I’ve been reading about the technique and watching Steven Raichlen
And so it was, Friday night. I fired up the TiVo and found an episode of Primal Grill. I believe it is the first episode of the series, ‘Smoke Screen’. Raichlen prepared turkey breast pastrami-style. He cured it with salt, sugar, black pepper and other spices, then slowly smoked it, sliced it thinly, and piled it on sandwiches. I had that “I’ve got to make that” moment, and immediately began thinking of the first opportunity I’d have to get working on it. I recalled that I am going to a party on Sunday. Perfect occasion. It was decided.
Not wanting to show up to a party with just a bunch of sliced pastrami, I knew I had to do something amazing with it. Raichlen used his turkey pastrami in Reuben sandwiches, so I took his idea and ran with it. I picked up some cocktail rye and pumpernickel breads, Alsatian sauerkraut, and ementhal at Fairway, along with the turkey and spices I didn’t already have. I also may have picked up a snack…
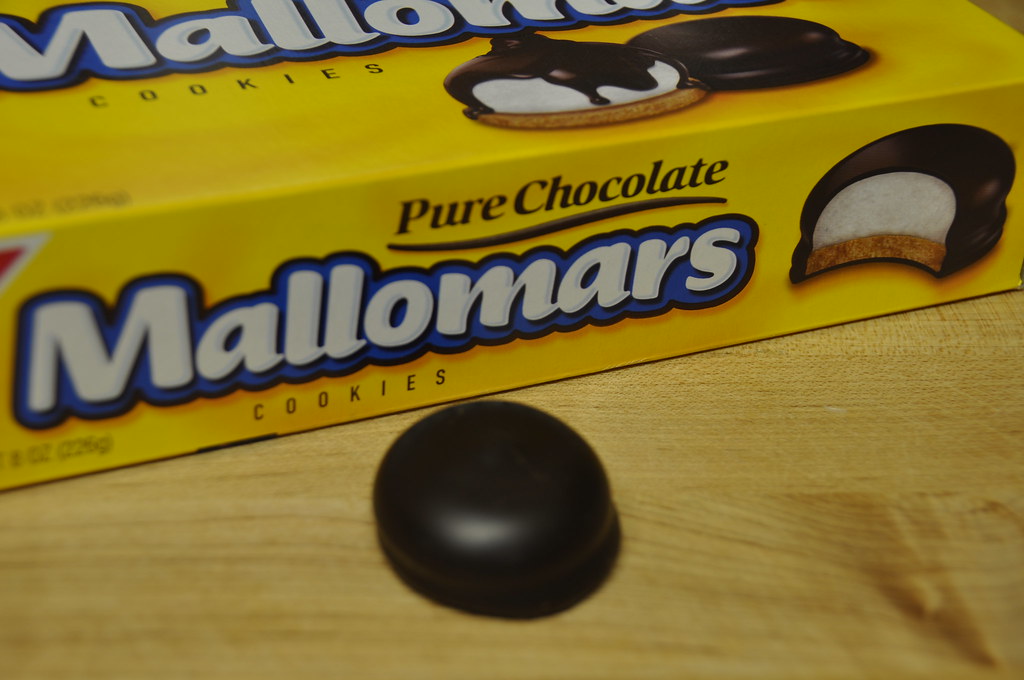
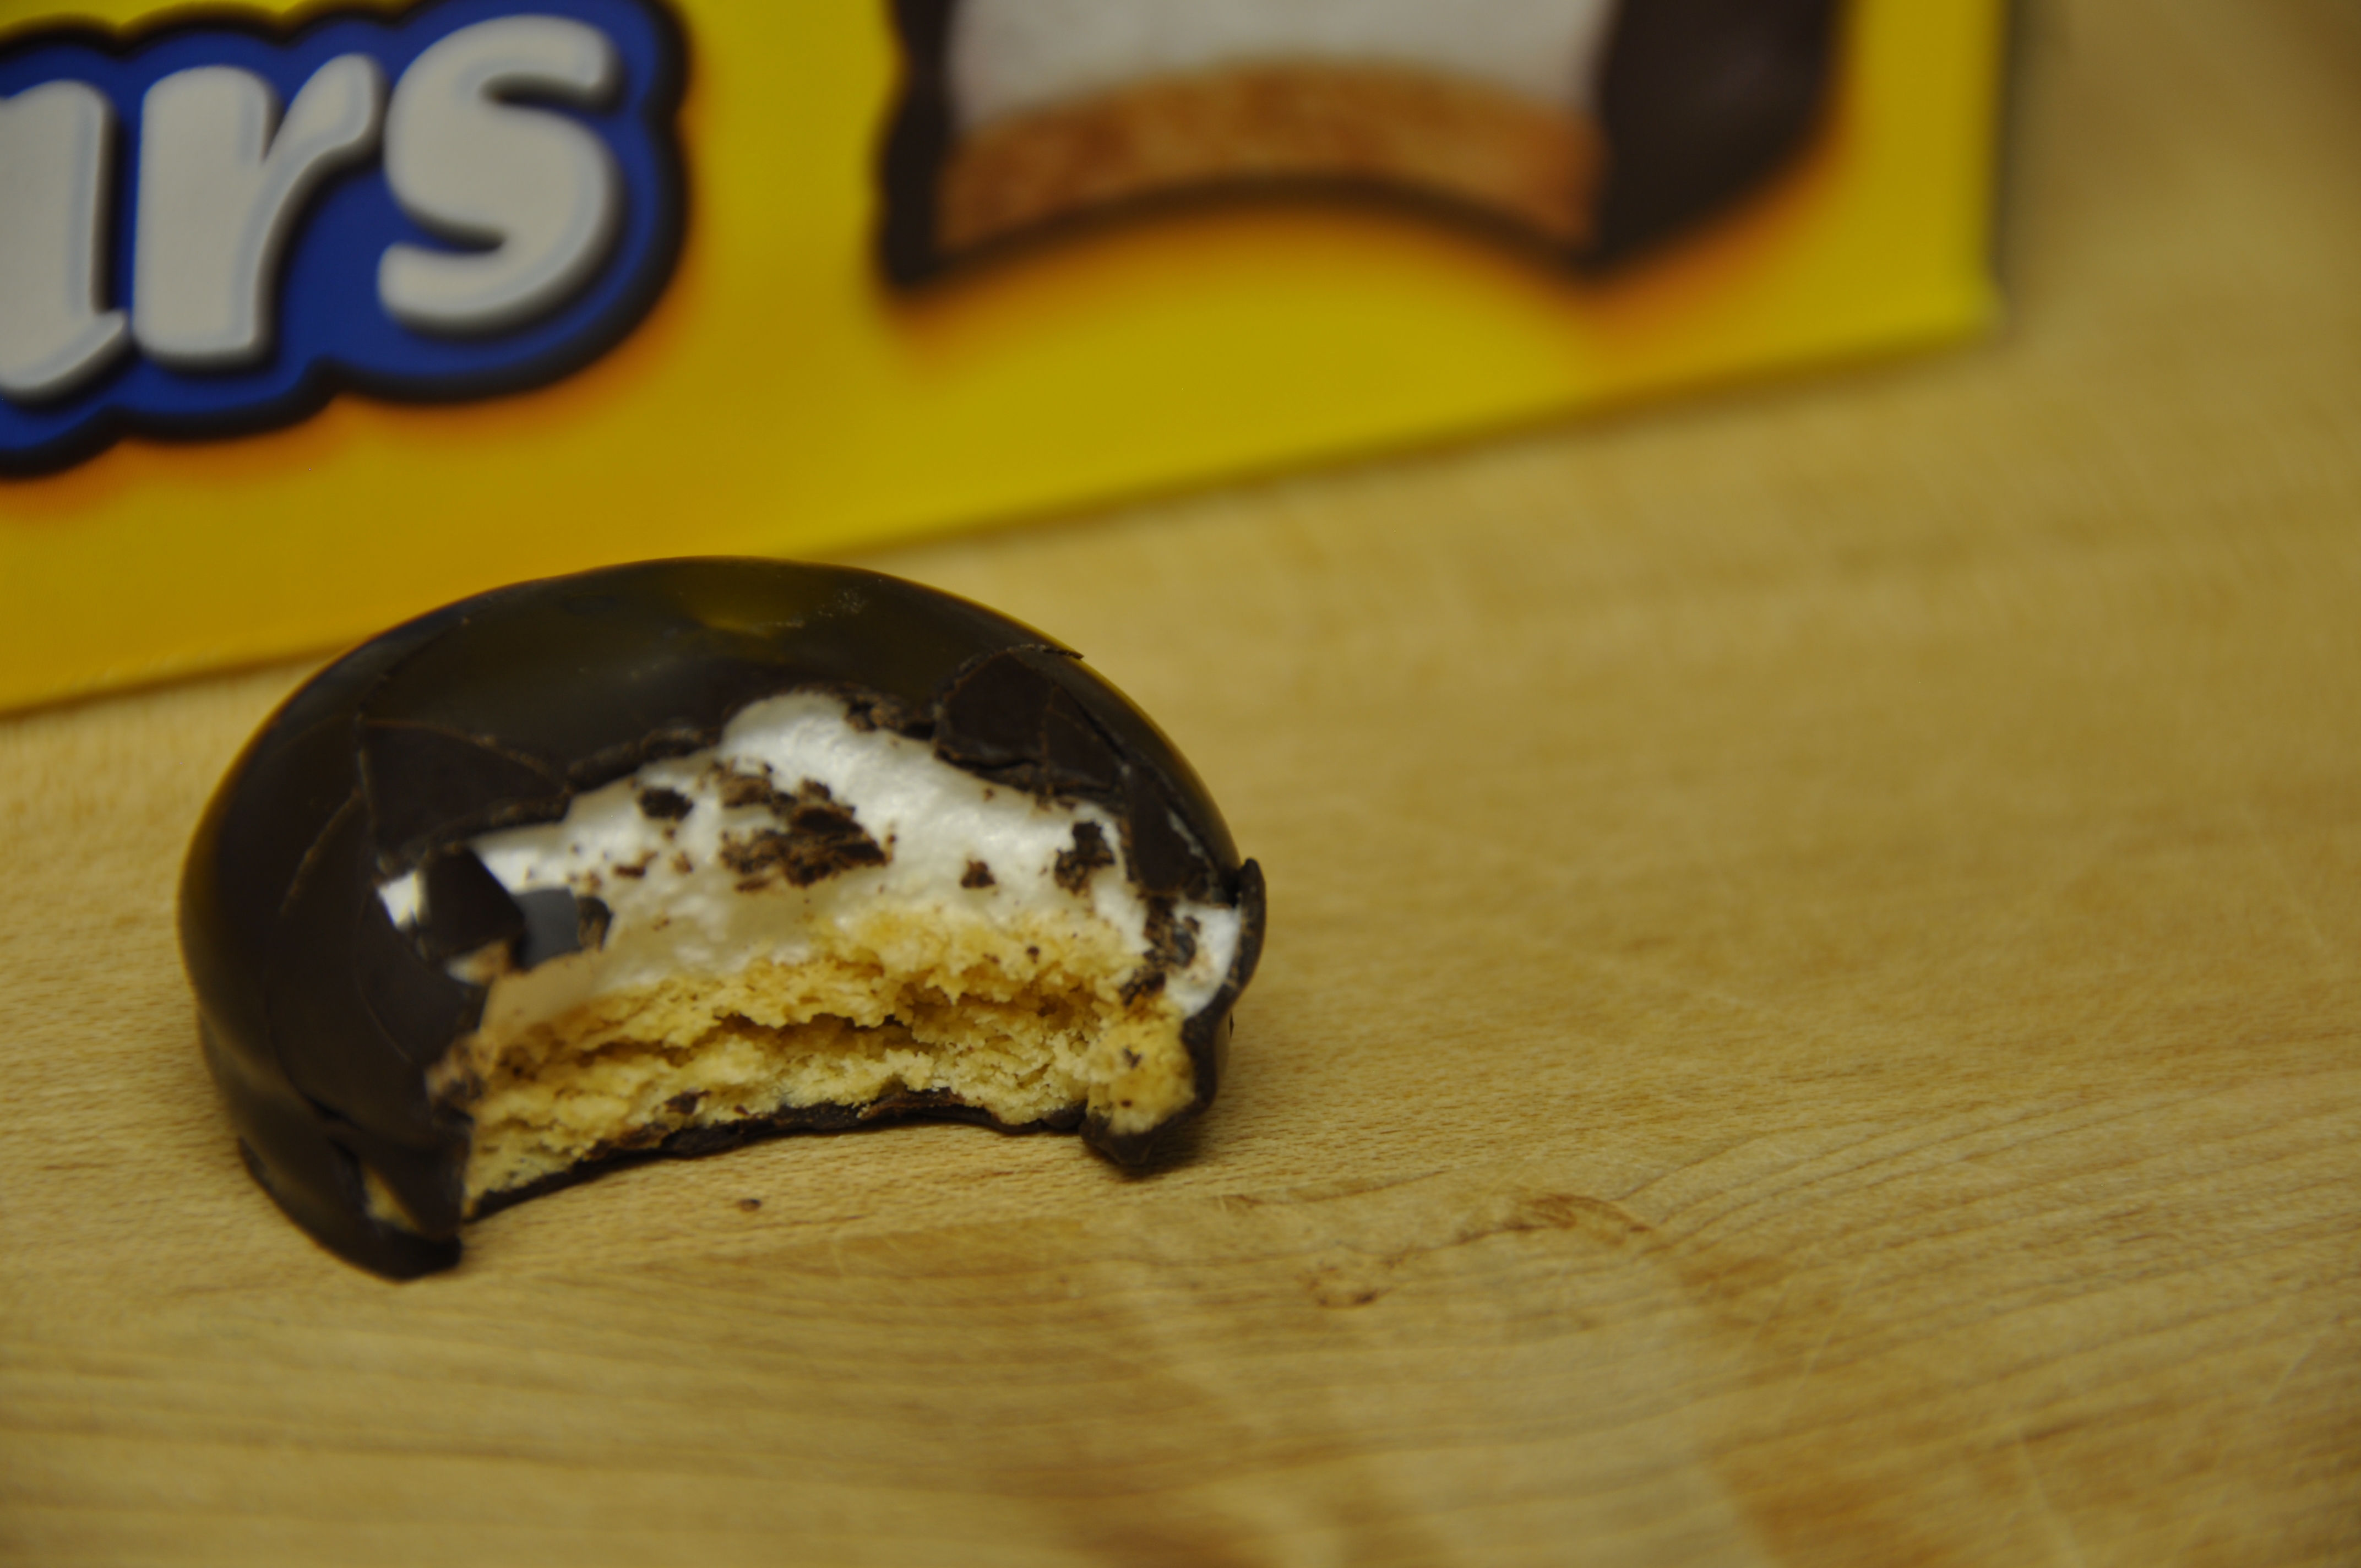
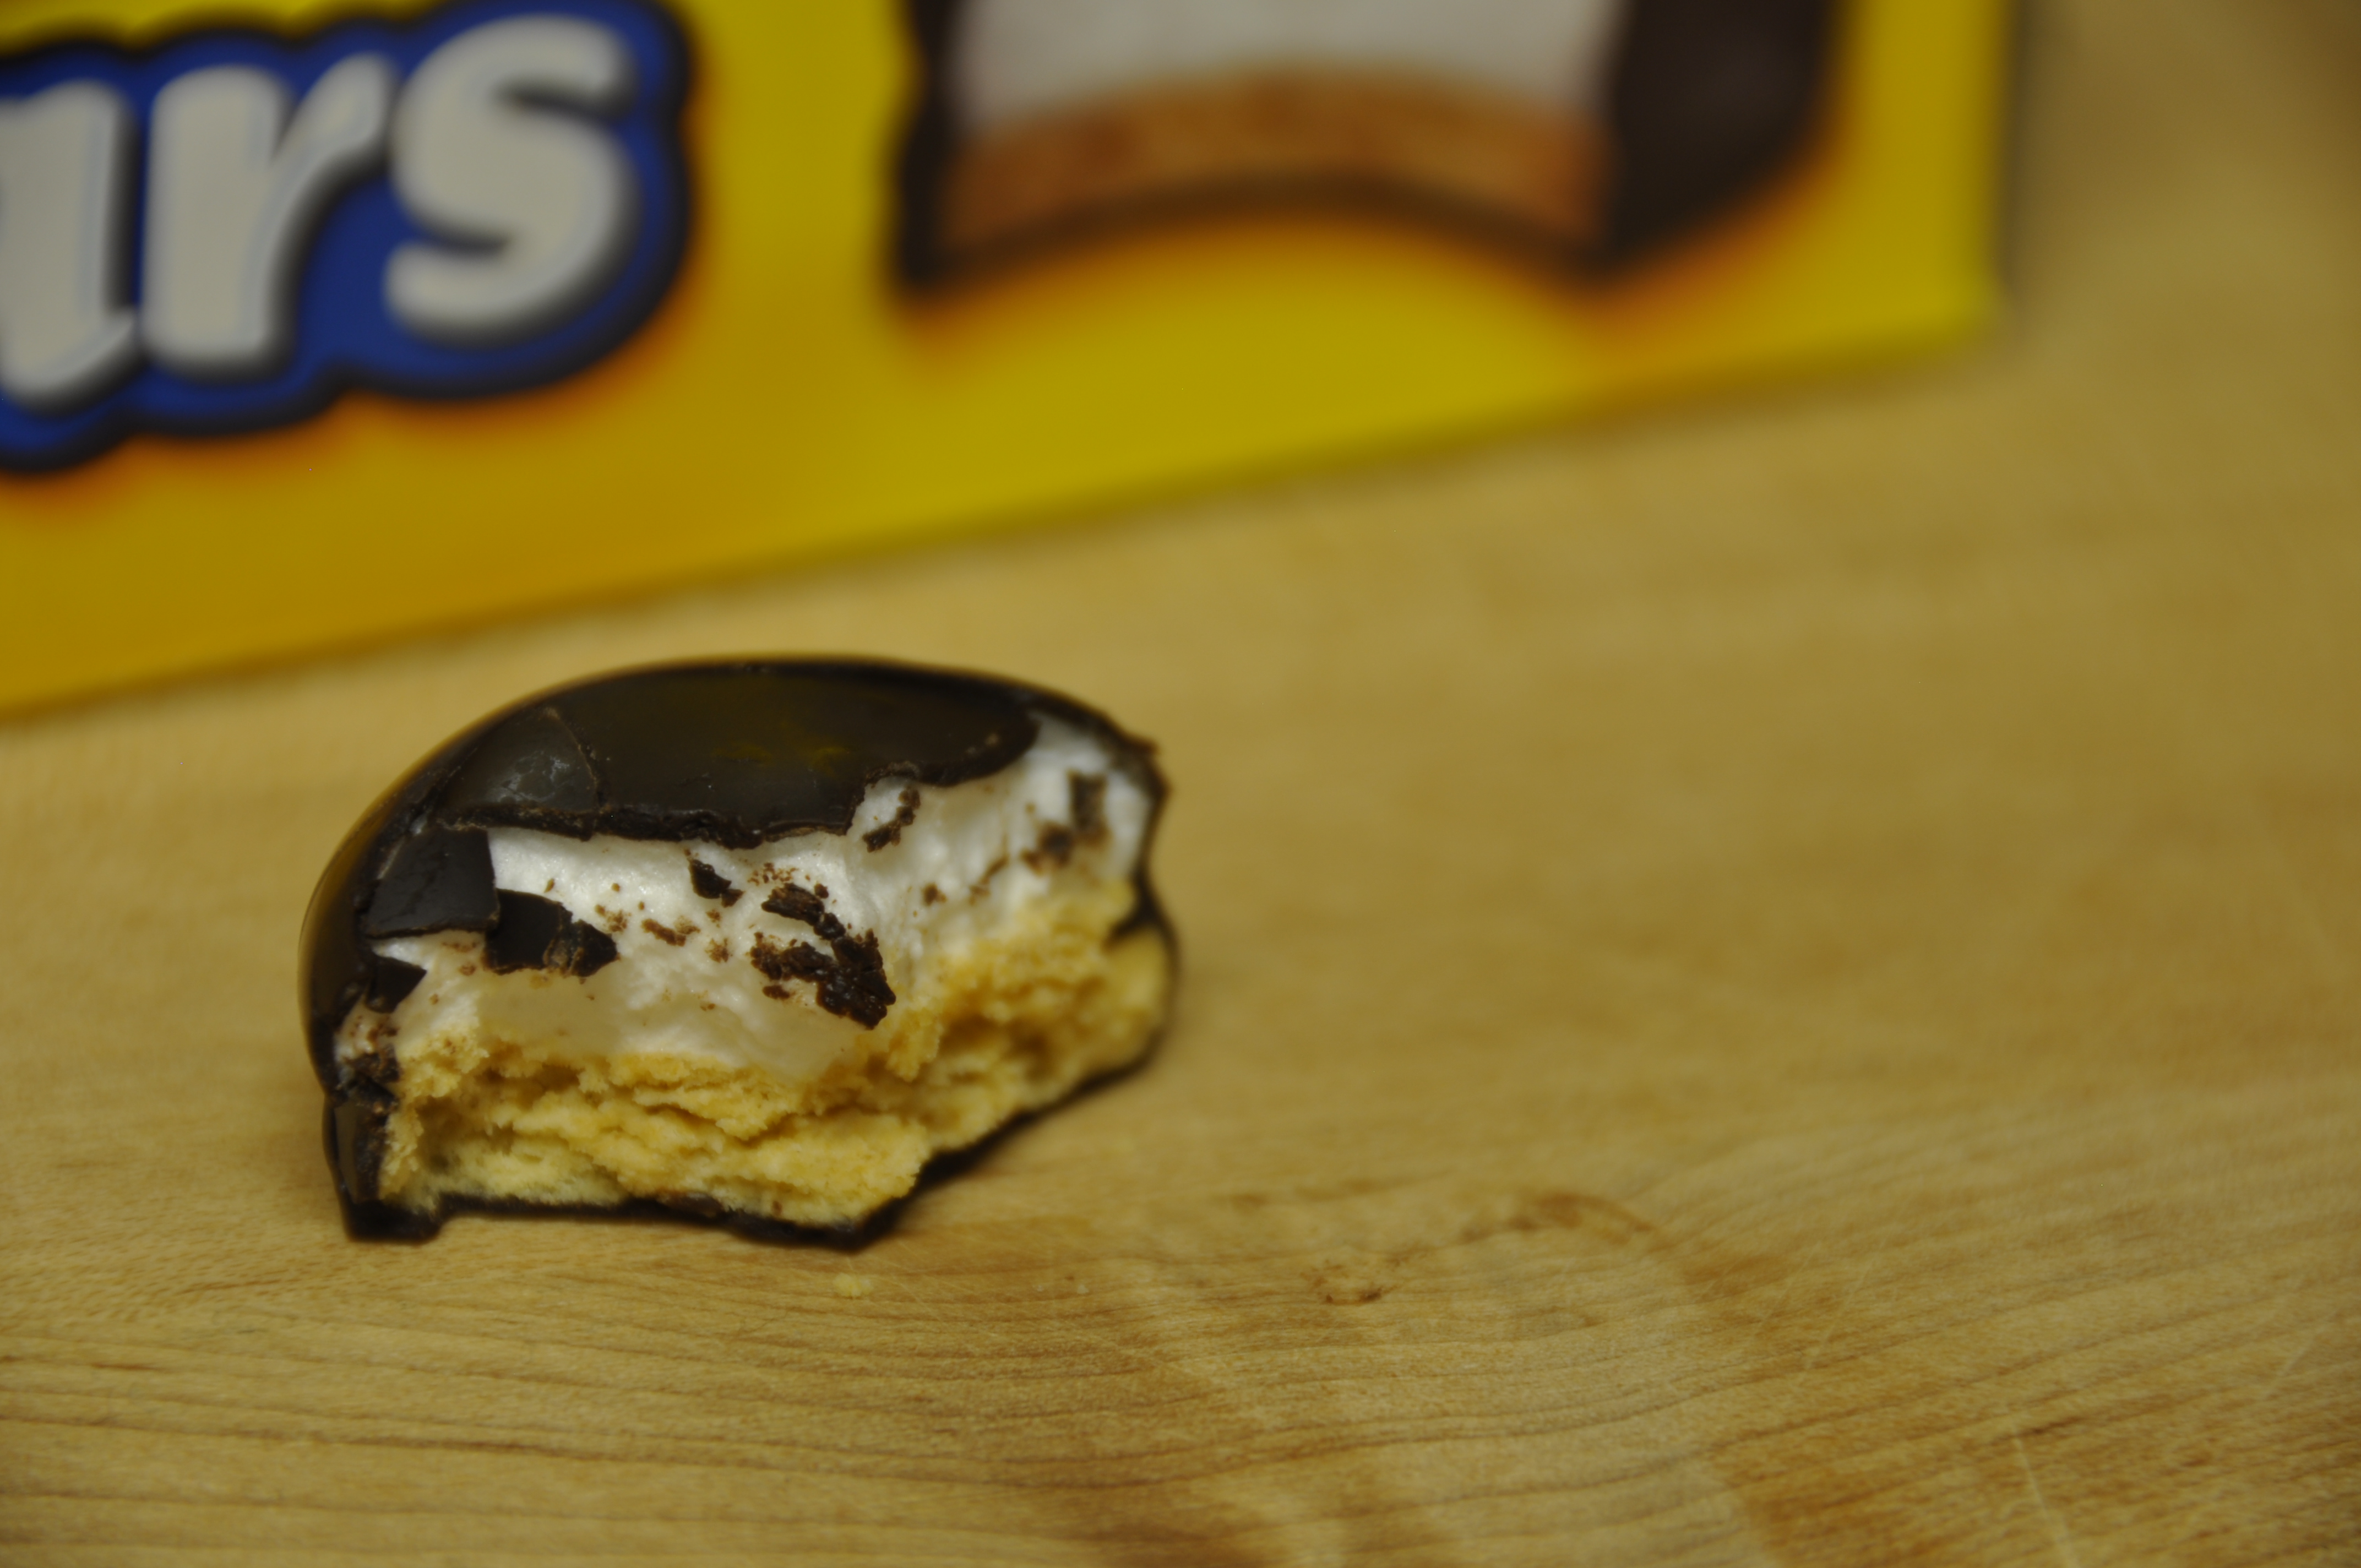
I’d actually never had a mallomar before this evening. I’ve heard great things about them, about their addictive properties, their seasonality, their…perfection, but I never really imagined them to be anything special. I mean, it’s just marshmallow on top of a cookie, covered in chocolate, right? Pretty simple. How amazing could the mallowmar be?
Well, I did this…
 |  |
|
…six times. They were darn good.
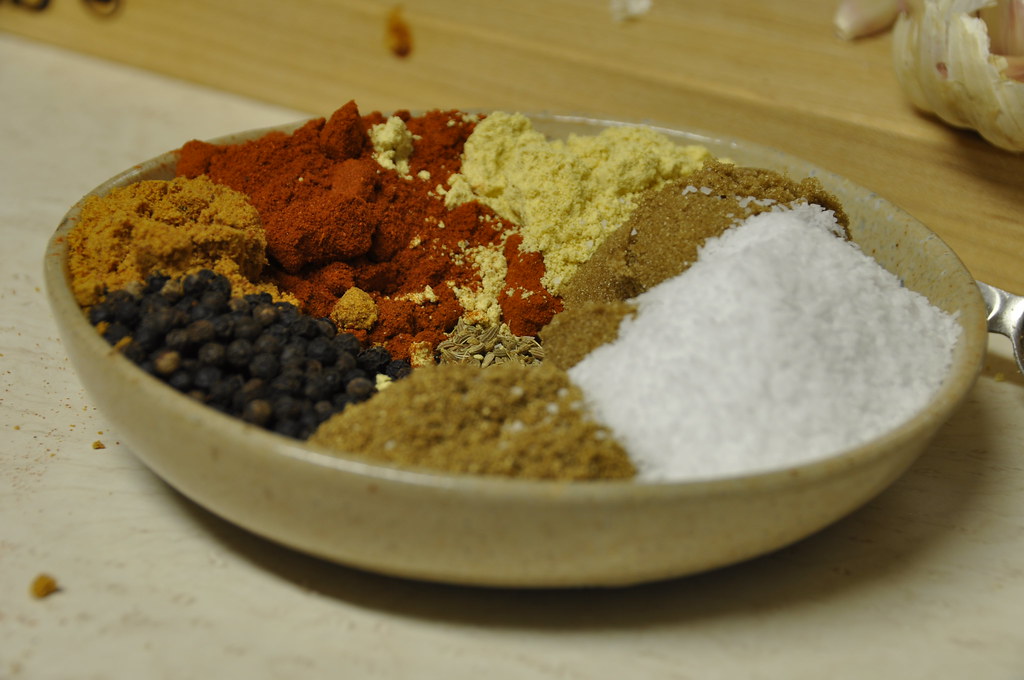
The cure for the turkey pastrami includes ground coriander, mace, kosher salt, garlic, paprika, black pepper, anise, dark brown sugar, pimenton, and ground mustard.
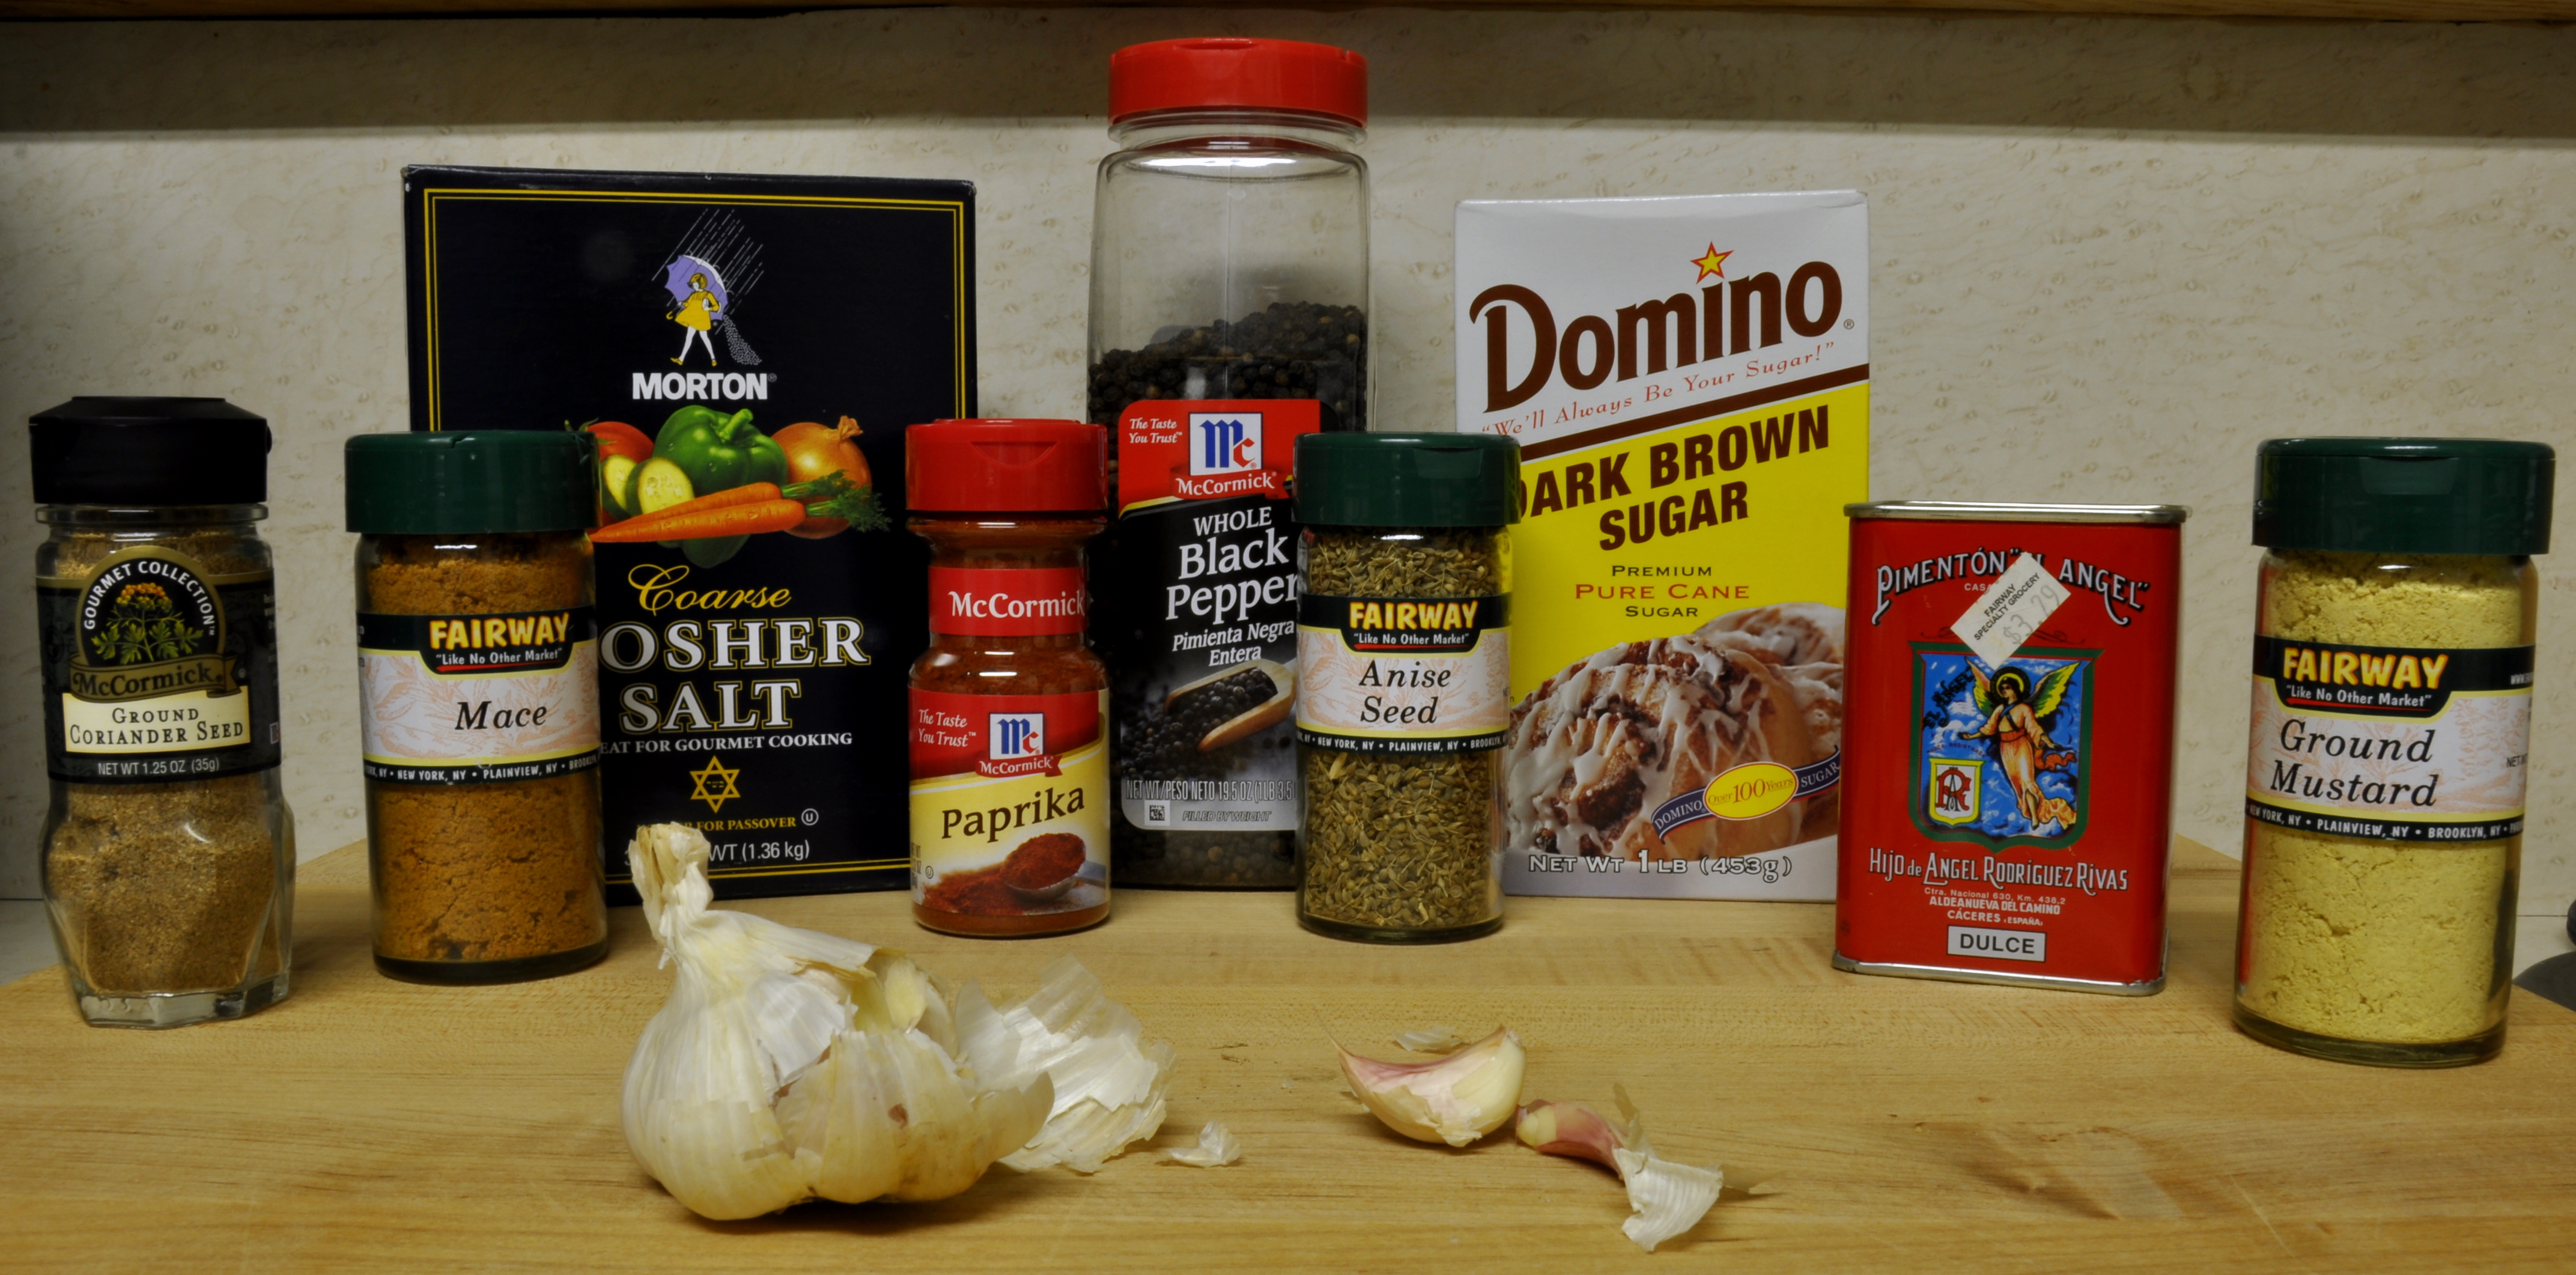
I measured all my dry ingredients….
and peeled my garlic cloves….
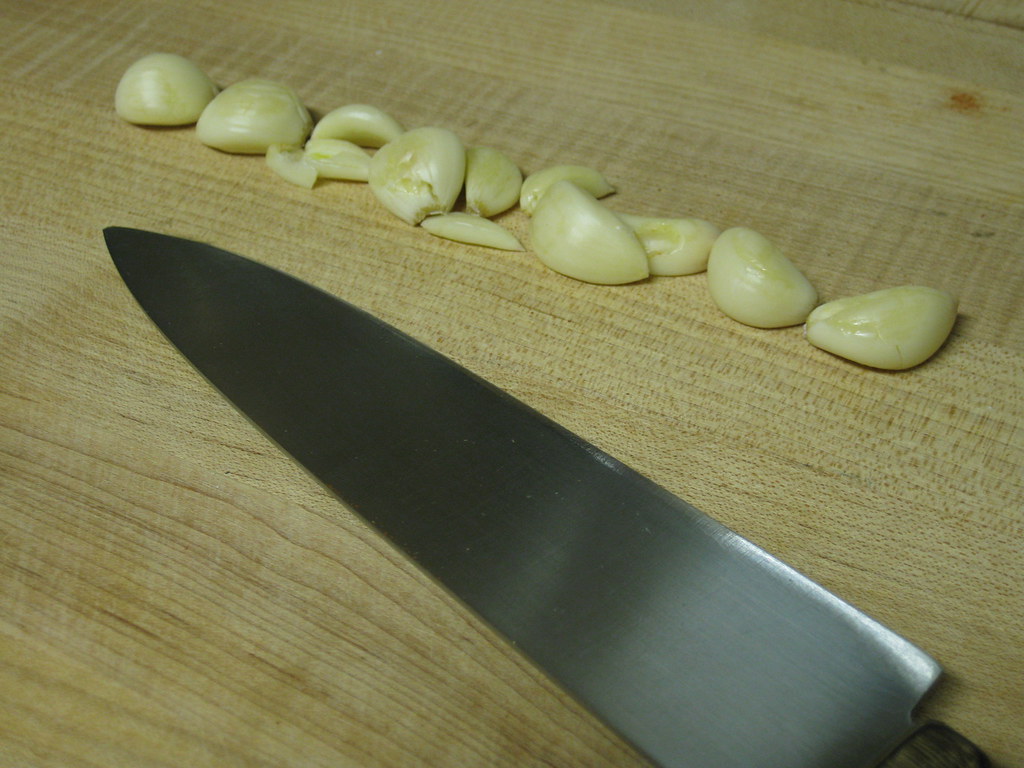
and chopped them coarsely.
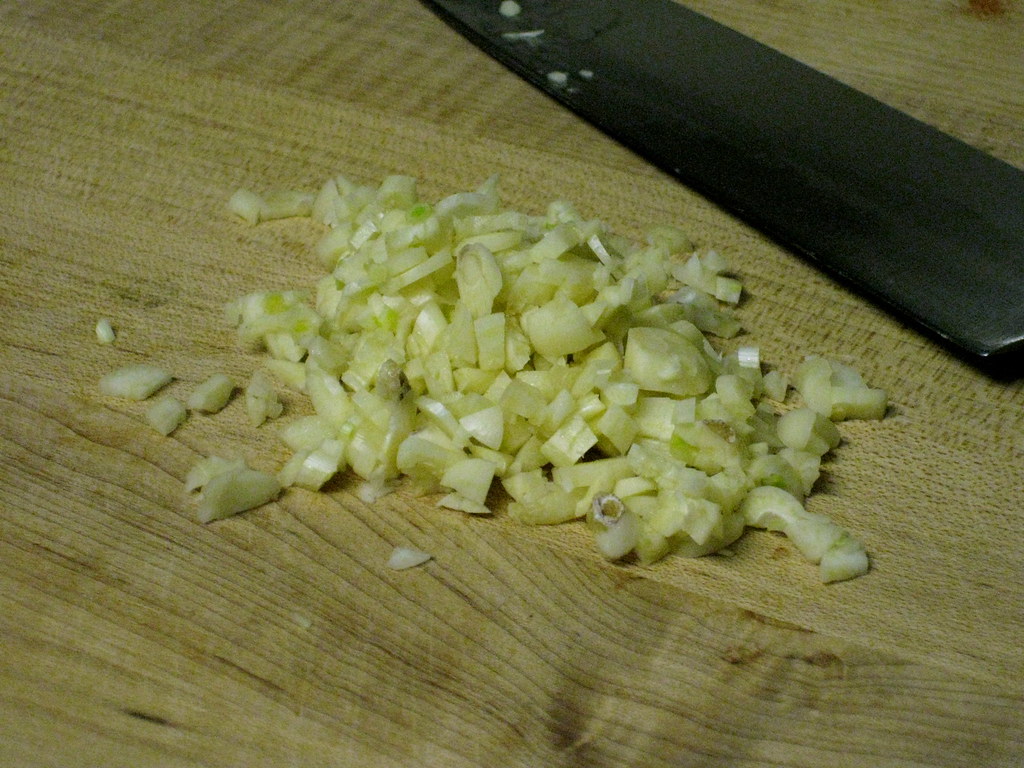
Then, I ground the whole peppercorns and anise seeds coarsely in my coffee grinder (dedicated to spices!). I added the garlic and some canola oil to the spices to make a dry rub.
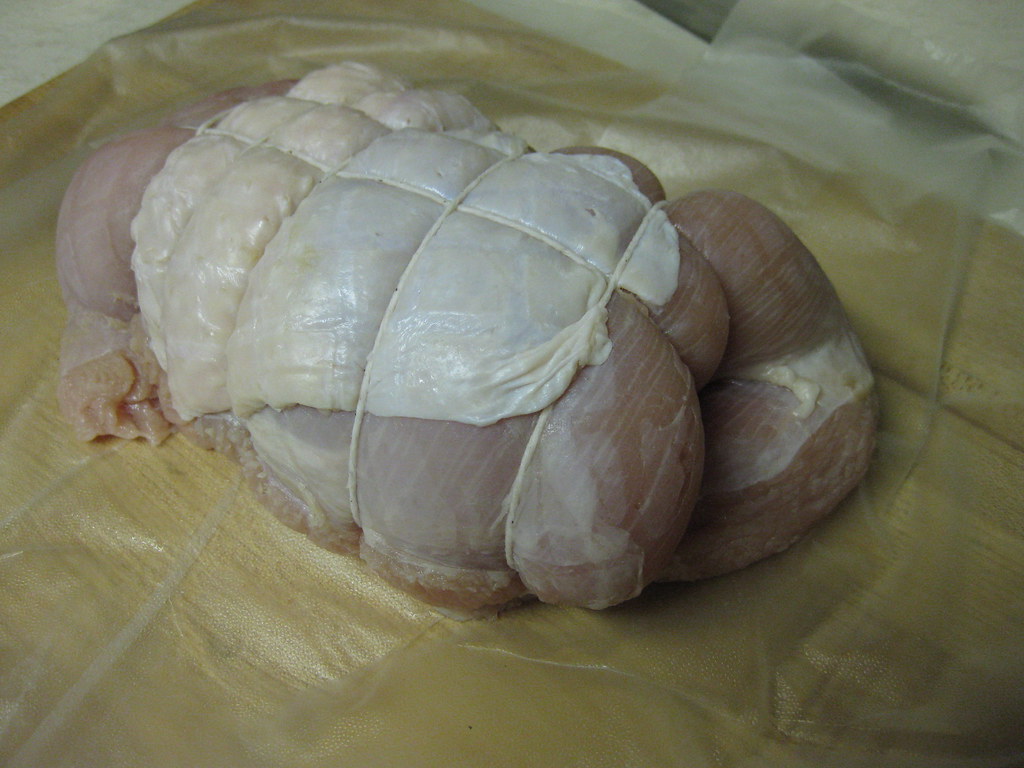
Then it was time to work on the turkey. I gave it a rinse, patted it dry, and rubbed it all over with the fragrant cure.
 |
|
I wrapped it tightly with plastic wrap, set it on a plate, and put everything in the refrigerator overnight. Twenty-four hours would be nice, but that’s not going to happen. I’m going to smoke it Sunday, and should detail that process here in the next few days.
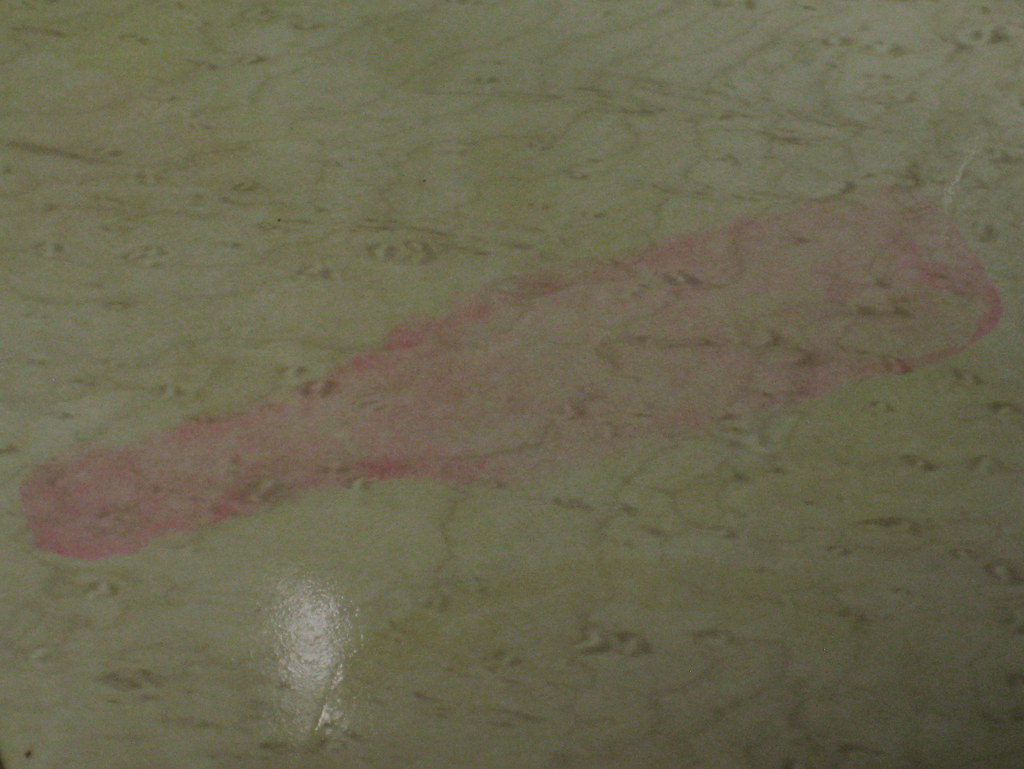
I forgot to describe one optional step… If you’re so inclined, spill red food coloring on your light colored counter tops. Then try to clean it up. Then walk around with the evidence.
 |
|
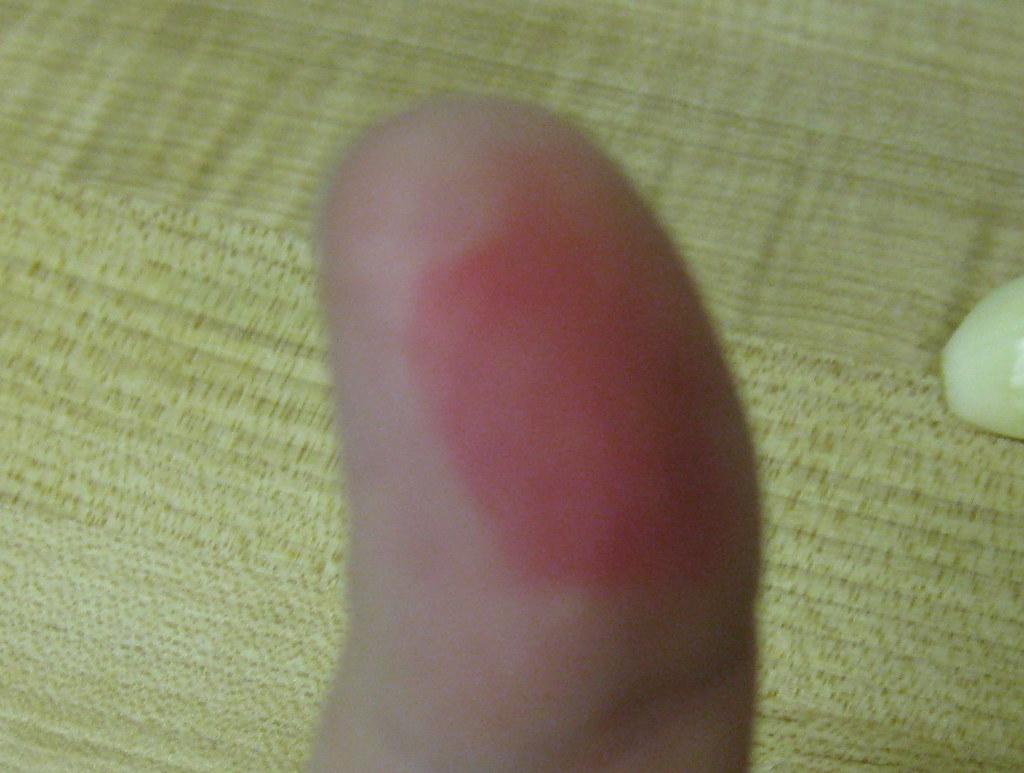
You caught me red-handed.
Friday, January 08, 2010

Monday, December 21, 2009
A Confession
I have a confession to make. Yesterday, I made brownies from a BOX. I know! How could I?!
We had some weather yesterday, and I was, well, under the weather. So while the rest of the fam shoveled us out, I whipped up some brunch, including brownies. I did spruce up the box mix with some chocolate chips though.
How did they taste? Well, like brownies from a box. They lacked the rich chocolaty goodness of my standards, and the texture was a bit puzzling, with the outside crisp and chewy, but the middle gooey and fudgy. They got us through brunch though, and I didn’t have to feel like such a slacker for not shoveling.
Monday, December 14, 2009
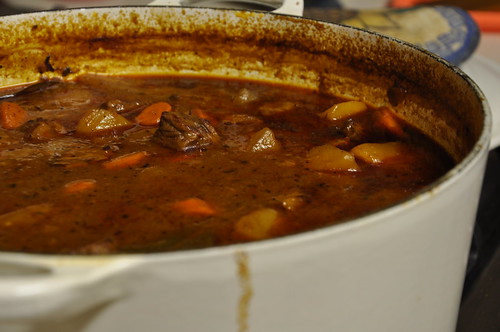
Beef Stew
 Last week, the average low temperature around these parts was 28°F. Not absolutely frigid, but not exactly warm either. This, my friends, is stewing weather.
 I will confess up front, however, that I did not make any stew this past week. Nope. Not me. But I did eat some! Big T. made it, and he declared it his best beef stew in a long while, and perhaps his best beef stew ever. I will also confess right here and now that these pictures are not from Big T.'s best ever beef stew of last week, but rather from a beef stew I made last year. Yup, this post has been waiting a year to be written, and here I am.
And, I guess while I’m pouring my heart out, I should further confess that I really don’t like beef stew all that much. Yeah. Sorry, Big T. Beef stew is a little too rich, too hearty, too…..masculine for me. I just can’t appreciate the in-your-face meat-and-potatoes heaviness of it. I like all of the ingredients on their own and in various combinations, but it seems when they are all dumped into the same pot, I just don’t enjoy it. Therefore, when I’m making beef stew, I do a few things to cut the richness and overwhelming beef flavor.
I don’t really have a recipe for beef stew. I think any logical combination of meat and vegetables works in some way, and I still haven’t found any amazingly earth-shattering mélange. However, there are a few ingredients and a few techniques that I will apply to every beef stew I make.
I start by trimming any excessive or hard fat from the meat. The longer I plan on stewing, the bigger the pieces of meat. I want them tender, but not stringy and devoid of all texture. What kind of meat? Ideally, chuck roast, but almost anything will work. Then, I heat up some oil in a heavy Dutch oven (oven-safe). I season the meat with salt and pepper, maybe a little garlic powder, and flour it lightly. I brown it until it looks delicious and perfect, working in as small of batches as is necessary to accomplish this task. Sometimes the browning alone takes nearly an hour. I remove all the meat from the pan and then sweat some onion, garlic, carrot, and whatever other aromatics I plan on using for my broth. Next, it’s time to brown the tomato paste. Yep, tomato paste. Always tomato paste. There is no better way to add dimension to a stew or braise than with tomato paste. It does some umami magic and stew without tomato paste isn’t worth eating. (Again, sorry Big T.) Once the tomato paste is a gloriously rusty shade of brick, I deglaze with some red wine. This is essential. It adds acidity and brightness to the overall dish, and a great fruity quality. Yum. The meat goes back in, and I add beef stock or, much more likely, water to cover. Not too much! Just cover the meat. I add a bay leaf and maybe some thyme and bring to a simmer. Then it goes in the oven. You preheated your oven, right? I like a temperature of about 250-275°F. It doesn’t matter as long as it’s not too high. I figure the stew will simmer at an internal temperature of 212°F-ish, but the oven needs to be a little warmer. The great thing about stewing in the oven is that you don’t really need to stir. I still do, every hour or so to make myself feel important, but there’s not really any risk of burning and the heat is infinitely more even than you can achieve on the stove. I let the stew simmer in the oven for 2 hours or until the meat is just about at the desired level of tenderness.
While the stew is….erhm…stewing, I cut up the vegetables I want in the stew. The aromatics I added earlier will basically be mush and have given all their flavor to the broth. I don’t really strain them out, but I do add some fresh stuff for textural reasons and for brighter flavors. I pretty much always do carrots and potatoes, but sometimes add corn, string beans, peas, etc. Put the vegetables in the pot when the meat is nearly done, add more liquid if necessary to just cover everything, and put the pot back in the oven.
Next, and this is a requirement for me, fill a big ole pot with water and set it on high heat. This, my friends, is for the EGG NOODLES. Stew, for me, is mostly an excuse to eat egg noodles. By the time the water boils and the noodles cook, the vegetables you added to the stew should be just about done. If you want larger chunks of vegetables, you may need to adjust your timing for the egg noodles, but whatever you do, don’t forget the EGG NOODLES! Big T. forgot the egg noodles.
If you wish, thicken the stew with flour or cornstarch dissolved in cold water. Just mix a tablespoon or two with the water and slowly add to boiling stew. Make sure to stir as you add your starch of choice. I bet blending some potatoes would thicken the stew up too. I should try that.
Anyway, put a little butter on your noodles and then pour on a ladle of stew. Have a glass of red wine and compliment yourself on your delicious stew. Then, declare it the best you’ve made in a long time, and perhaps your best stew ever.

Subscribe to:
Posts (Atom)
